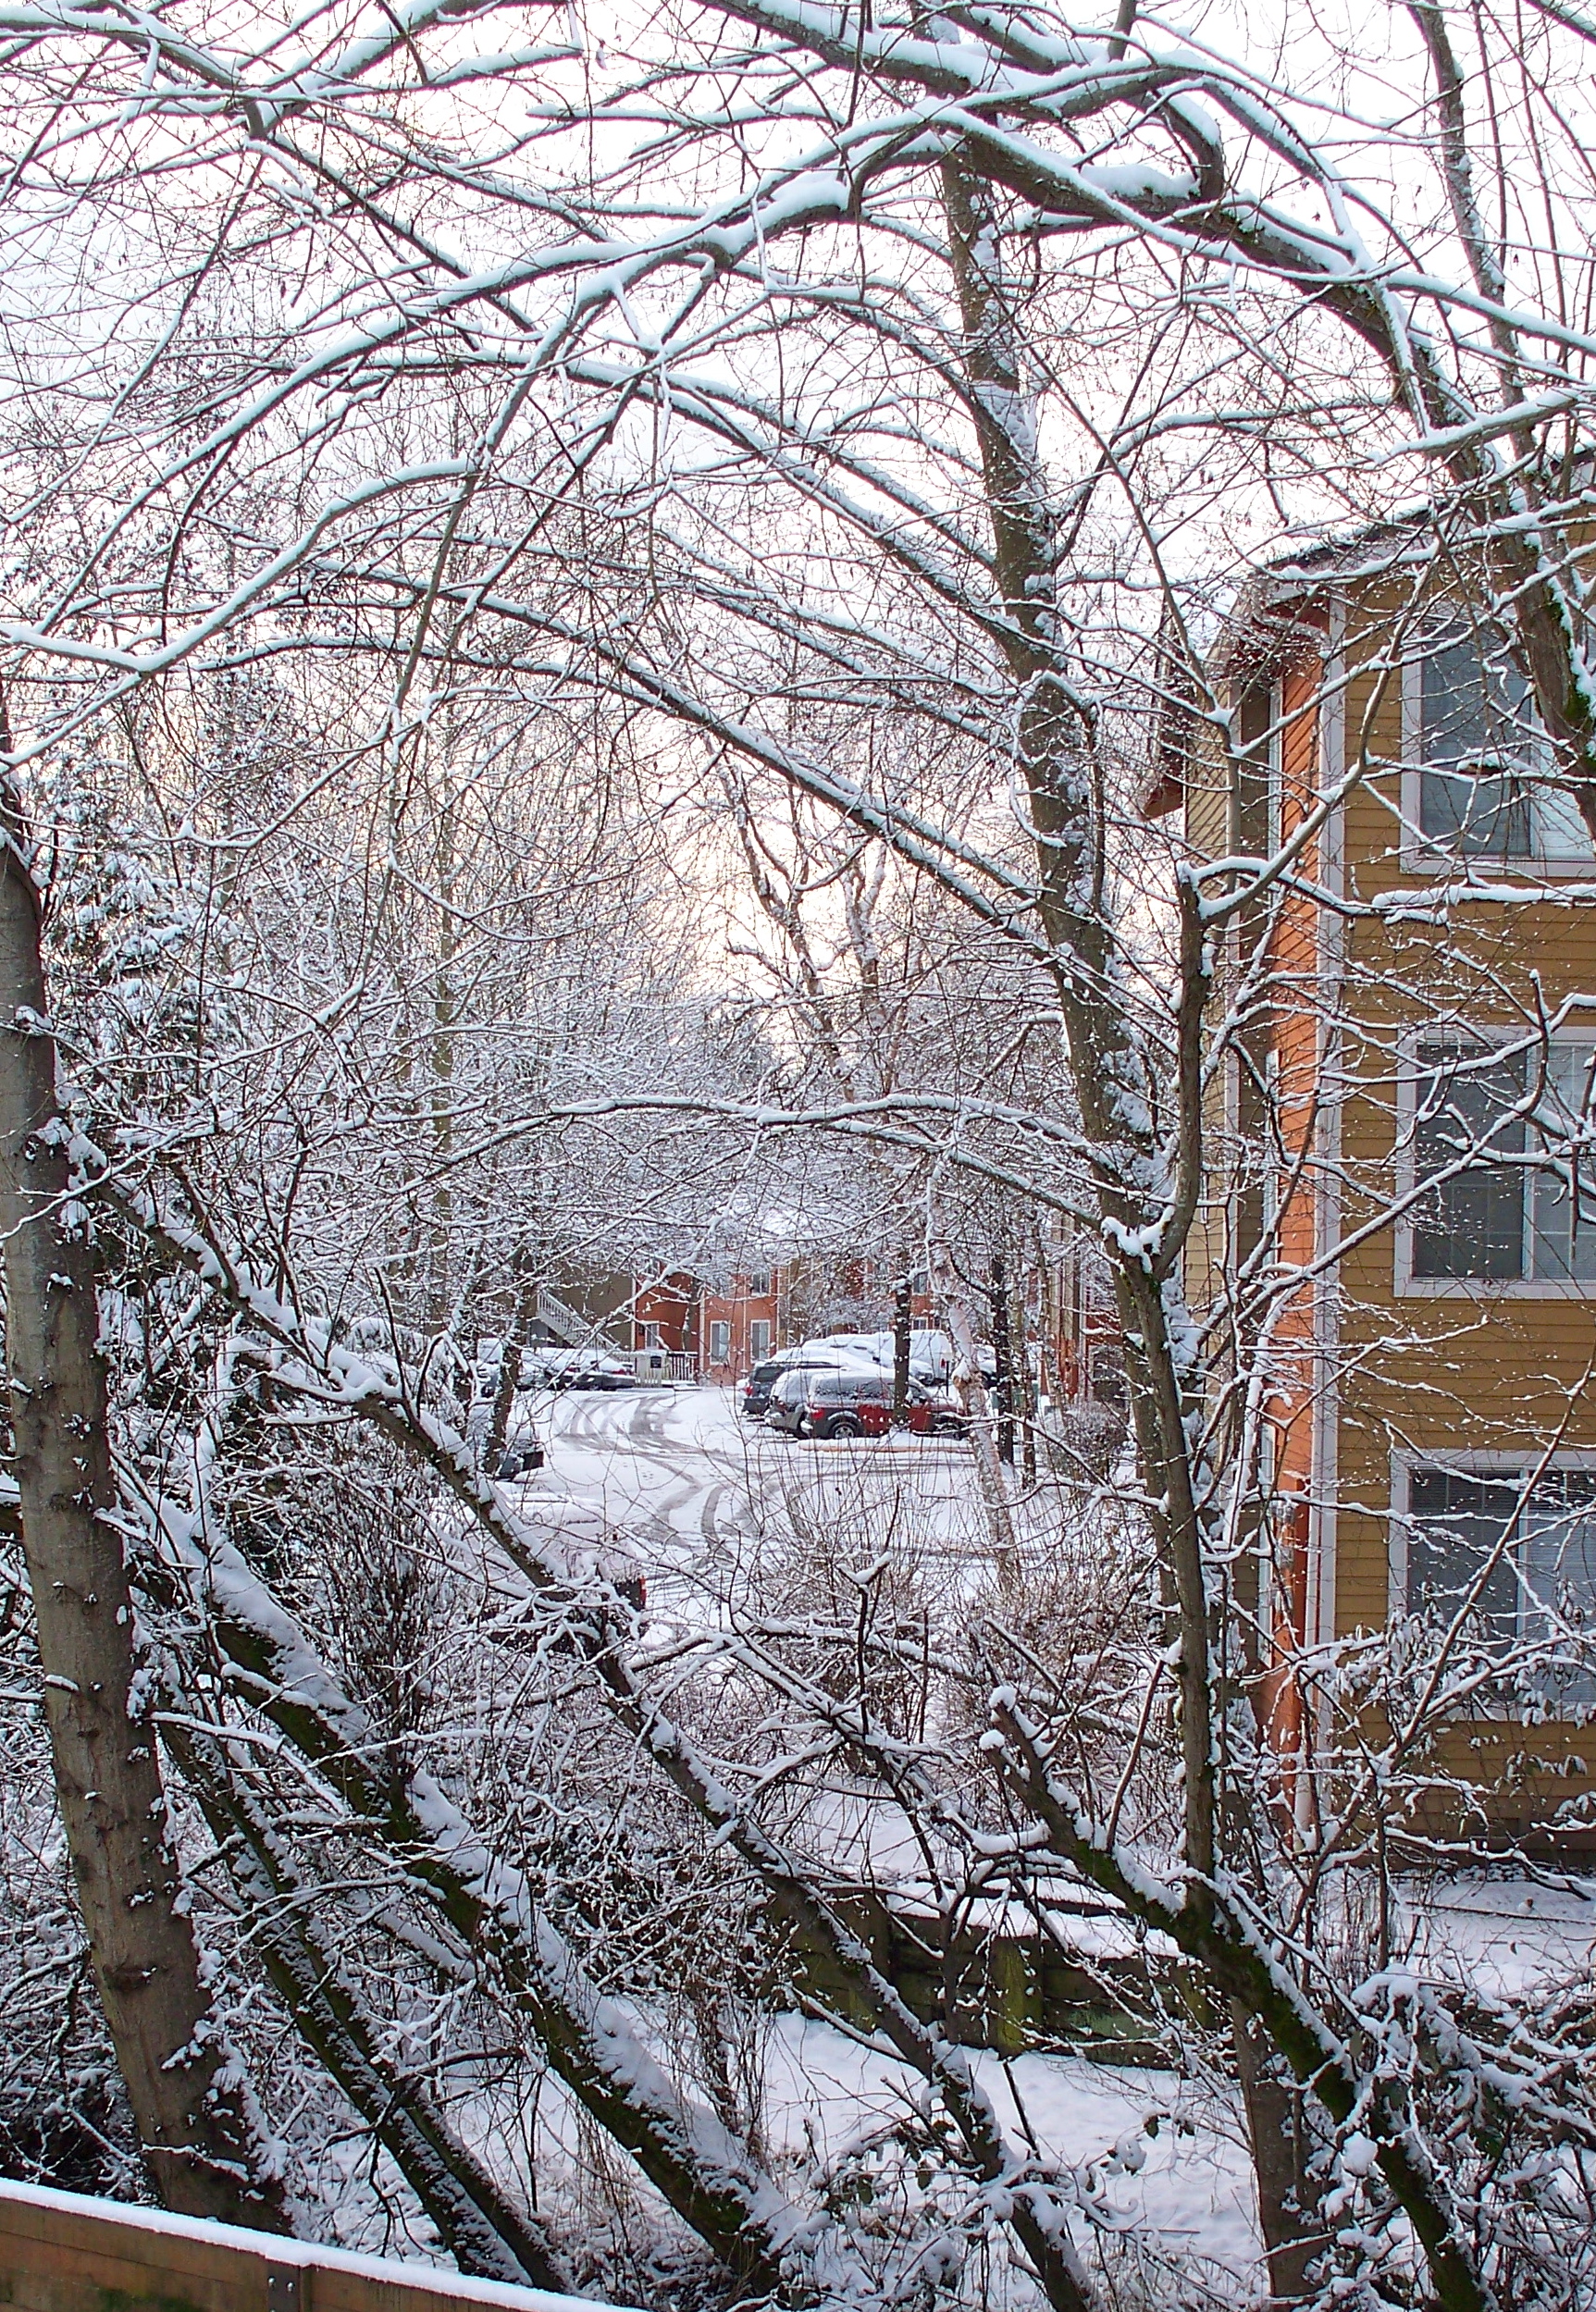
It's not quite the thick coating we see in Northern Indiana, but for Redmond, this is a decent amount of snow.It’s snowy out, the sort of snow I grew up with in Northern Indiana. A clumpy snow, a little wet, so it clings to branches in inch thick lines, making some more snow than branch. Last night I watched it drifting past the light in the parking lot, which illuminated a sphere of falling snow, like an open-air snow globe, the good kind without sparkles or glitter, just evocative white bits that make us think of quiet nights, growing quieter as the snow muffles sound.
Sometimes writers need to stop and look and figure out what makes a scene real, what distinguishes it from one of the many movie backdrops in our heads, so that when we recreate it or take a piece from it or somehow incorporate it into a piece of writing, we can convey that quality. Karen Joy Fowler mentioned that often the most unique detail of a landscape is one of the most transitory: a busker, the shape of a cloud, the noise of the rock concert next door. Right now it’s snow for me. So, I ask you – what’s the most evocative detail of your current landscape?
Want access to a lively community of writers and readers, free writing classes, co-working sessions, special speakers, weekly writing games, random pictures and MORE for as little as $2? Check out Cat’s Patreon campaign.
Want to get some new fiction? Support my Patreon campaign.
"(On the writing F&SF workshop) Wanted to crow and say thanks: the first story I wrote after taking your class was my very first sale. Coincidence? nah….thanks so much."
~K. Richardson
You may also like...
Nattering Social Justice Cook: DIY Cooking Kits
Shared food can be a social experience that creates friendships.
Within the last few years, an industry has sprung up aimed at people who don’t know how to cook but yearn to do so. The basic model of such companies is that they deliver kits for making a homemade meal: the ingredients, with any pre-work like peeling or trimming already done, and a set of instructions that includes step by step photographs pretty enough to be in a food magazine.
I tried one of these services a year or two ago, lured by a good coupon deal, and did get some value out of it, but cancelled the subscription before they could start hitting me with the non-coupon costs. For someone utterly foreign to the idea of cooking, these might be useful to show how easy it is to create a tasty meal, or for someone scared of failure, they might build confidence. But the amount of wasteful packaging was striking, and that seems a bad thing to me. I don’t like creating garbage, because among other things, it means I must expend effort taking it out, but also because it’s bad for the planet.
The average American generates 4.3 pounds of garbage per day. That’s over a pound and a half over what the figure was in 1960. So we’ve gotten, overall, less efficient rather than more, while at the same time depending on resources that are diminishing.
Every one of the kits came in cardboard packaging around a styrofoam box with two large ice packs. I stuck a few of those ice packs away for re-use but there are only so many ice packs any household can use and they’re not recyclable because they’re filled with some sort of chemical solution. Every ingredient was packaged separately, down to tiny plastic bottles holding approximately a teaspoon of soy sauce. If I had weighed the garbage against the end result, I would have found the garbage far in excess of the end result.
I think people should know how to cook, because it’s a skill that helps them make their life better in a number of ways. I freely acknowledge that people with few resources will have a harder time cooking, yet be in a position where the practice would benefit them tremendously. Some low-cost appliances can be of much use here, like a rice cooker, hot plate, or toaster oven, but using those efficiently takes skill and knowledge. These kits aren’t going to teach people some important basics, such as how to shop economically/efficiently, how to store ingredients, or how to prepare food.
My grade school taught home economics in 6th grade, in a time benighted enough that girls weren’t allowed to take shop class, because that teacher claimed he was too worried about long hair getting caught in machinery. It was useful stuff: how to plan and cook a meal and how to sew things, mainly. We did have a few boys in there, mainly ones who were there for eating part of cooking practice.
Most of what I learned about the kitchen, though, I learned at home, from my mother, who was and continues to be a skilled and adventurous cook, my maternal grandmother, who provided farmhand meals for decades and was a master cake decorator, and my paternal grandmother, who had only a few dishes down, but made them well.
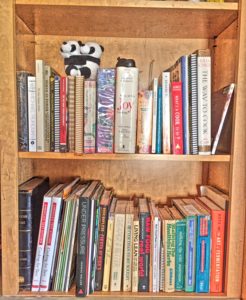
It wasn’t until graduate school, though, that I realized that I really loved to cook and was pretty good at it, particularly after two years of catering to a household that included two vegetarians, a lactose-intolerant, someone testing for food allergies, and a follower of the Pritikin no-fat whatsoever diet. I hosted dinners and potlucks, fed a houseful of boarders, and created a backyard garden that supplied fresh ingredients. I learned to love tiny ethnic grocery stores as well as how to make some of my own staples, began to bake bread on a regular basis, and began to accumulate what’s currently two shelves of cookbooks (and books about cooking), despite frequent culling.
Some of these books have survived several decades of purges and moves.
Why do I think the skill is so important? Here’s what it has brought to my life over the years.
Economic advantages: I can live significantly more cheaply than someone who eats out or buys pre-prepared food. I could feed my household for significantly less than I would otherwise if I’m willing to put a little time into planning my meal schedule and shopping. Among the things I can and often do make at home that are cheaper: yogurt, bread, pasta, salsa, mayonnaise, hummus, cookies, soup stock, kombucha, burritos, ricotta cheese, cold-brewed coffee, instant oatmeal, flavored butter, ice cream — and that’s just the foodstuffs. I can stretch meals – buy something that serves for multiple meals, like a pork shoulder that goes into pulled pork, stir-fry, and then soup. Learning how to cook well can be the single biggest budget-changer skill a person learns.
Nutritional advantages: I know what’s going into my food and can accommodate my partner’s sensitivity to corn, for one. Looking at the list of ingredients of something like Hamburger Helper, I see a bewildering array of chemicals. Some are everyday things dressed up in scientific names, but a lot are chemicals designed to keep the food lasting longer on a store shelf or to make it pretty. I can incorporate foods that I know are good for us or cut down on things like sugar, sodium, and fat.
Educational advantages: Learning how to cook means learning how to plan and prepare. When I give a dinner party, I’ve got a schedule laid out ahead of time: this dish goes into the oven at time x, then I prep onions for the next dish while the water’s boiling for yet another. It means a bit of math if you want to play around with servings and substitutions. It can mean even more education: learning the cuisine of a particularly country often involves learning something about its history and culture. You also learn how a small addition can have a major impact, how to taste as you go, and other useful stratagems.
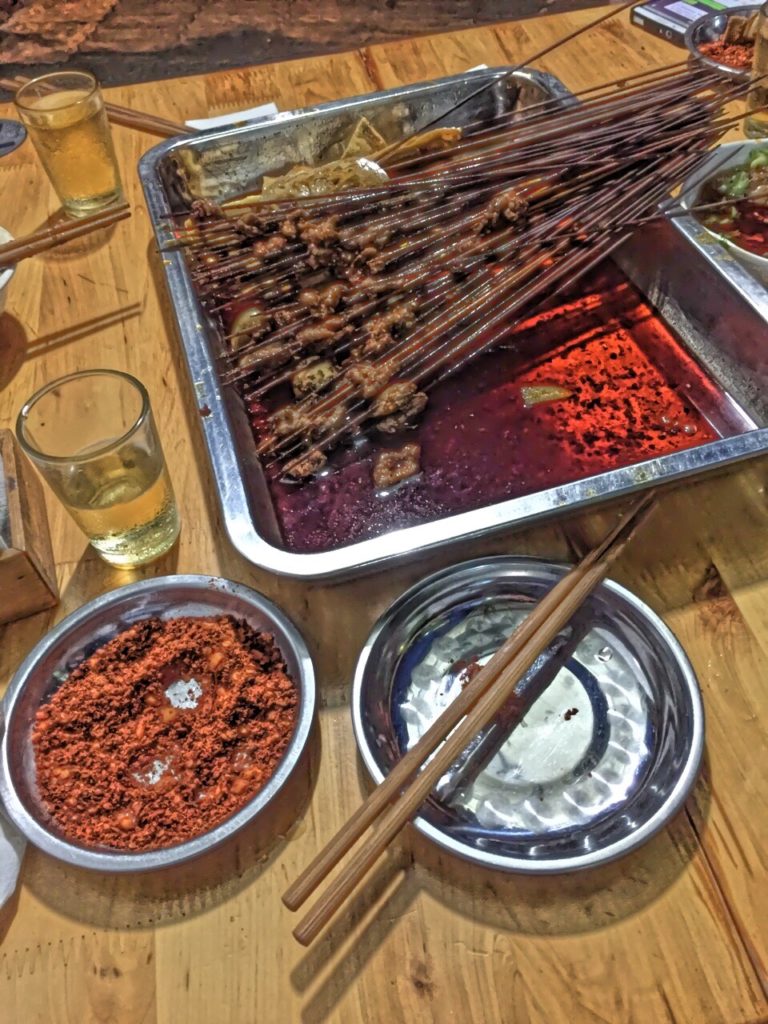
Social advantages: In grad school I hosted countless potlucks, which were a cheap way for impoverished grad students to come together for a meal, as well as various cook-offs, including a chili competition that featured, if I’m remembering correctly, eight different kinds. Yesterday I hosted my D&D group, feeding them an epic lunch of Mongolian hotpot before we started gaming. I can also throw a party much more cheaply than the cost of hiring someone to cater it. Moreover, through judicious application of delicious food and drink, I can delight my friends and enjoy their company and conversation for a period of time. When I was dating, I showed off my cooking skills more than once in order to woo someone. There’s something about having someone prepare food to you that is deeply romantic. Not to mention the seductive shazam of an intimate meal shared in the right setting. Even now, I can demonstrate affection for my spouse by fixing him breakfast in bed or his favorite snack when he’s feeling beleaguered by the world.
Aesthetic advantages: Food is one of life’s great pleasures. Celebrating its flavors and complexities is an aesthetic pursuit, and learning to appreciate new foods is an opening up to new things that helps make life more enjoyable. If you understand food and some of its complexities, you can appreciate that elaborate dessert or delicately flavored cheese even better. And a writer can rarely go wrong by exploring the sensory, in my opinion.
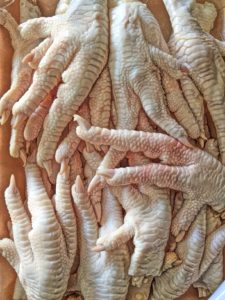
Ecological advantages: Learn how to cook and you eliminate a lot of waste. Plus you learn how to use up some of what would be otherwise thrown away. Vegetable and meat trimmings can be saved to make awesome soup stock; those excess bananas so quickly turning brown can become an ice cream substitute. I made soup stock from chicken feet yesterday; the result was a healthy broth for my sick spouse that cheered him up, but also reminded me that living creatures went into our meal. Eating meatless (which has its economic pluses as well) is much easier if you know how to cook things like lentils, beans, and grains. Learning how to ferment foods has made me more aware of how much we depend on the microbial world in cooking.
How does one acquire the skill? DIY kitchen kits are not the way to go. Pick a simple dish: scrambled eggs, a grilled cheese sandwich, a basic soup. Start smaller if you’re totally new and learn how to hard-boil an egg. That’s a useful skill, because not only have you learned how to make pre-packaged protein-rich snacks that you can take with you to work, but you’ve learned a basic ingredient for recipes ranging from egg salad to eggs Vindaloo.
Or pick a basic appliance and start experimenting. A rice cooker is one of the mostversatilethings you can own; throw a handful of lentils and some spices in with your rice and you’ve got a cheap, one-pot meal, for example. A toaster oven performs a multitude of tasks, and a slow cooker has many of the uses a rice cooker does.
One of the great things about the Internet is that it throws up so much of this stuff online. When I started making my own tamales, I went to Youtube to watch techniques and learned by seeing the demonstration in a way I would have never absorbed from a textual recipe. It was a bit of a challenge, which learning new things should be (IMO) in order for them to really sink in. Opening a package and putting preassembled bits together doesn’t give you the knowledge you need in order to assemble those things on your own.
Like so many things in life. Right now we’re at a time when plenty of people are ready to provide you with pre-assembled mindsets, lists of talking points, ingredients measured and tailored so they can be assembled only into a single recipe. Question your mental ingredients, know where they come from, and taste as you go.
And remember the universe loves you (along with everybody else).
At least a glass saucer or plate will get added to this project as "petals," but the painting part of the process is pretty much done. I've used both sides of the plate in order to create additional depth. The center piece is a wooden stopper for a long-ago broken decanter. It's decorated with metallic paint pen. I'll finish it off with a layer of something to water-proof it. I was pleased with the look of it overall, though.When I set out to make the glass garden flowers for Mom, I found plenty of pictures but very few tutorials. So here’s a walkthrough of the process, which should illustrate one important thing about these: they’re not a last minute project. The paint takes time to dry, as does the adhesive, which you will need to do in at least two stages.
What you need:
Glass or ceramic pieces to make the body of the flower from
3 to 5′ (suggested) length of rebar or other stake-like material
Terrycloth
Duct tape
Step 1: Assemble What You Have
Assemble the glassware you’ll be using. I suggest checking cupboards first. You’ll want several sizes that can be layered on top of each other, and (usually, depending on your other pieces) something for the center, like a short candlestick, round glass ball, or other object suitable for a focal point.
Go through your crafting supplies and look for beads, bits of jewelry, beach glass, shells, and other pieces that can be used to decorate layers.
Step 2: Find What You Don’t Have
If you can’t find everything you need at home, go shopping. In the thrift store, look for interesting pieces that are chipped or otherwise deeply discounted in both the ceramics and glassware sections. Check the metalware and mirrors as well. My local Value Village has a wall in which they bag oddments and sell as lots. If you have this, browse through it. Things you’re looking for: glass pebbles, large beads, holiday ornaments, mosaic pieces, and other things that can be glued onto plates. Pick up old shot glasses or small bottles to use for the backs.
I prefer to let what I find dictate the piece. You can also try to replicate or improve on an existing pattern or otherwise plan it out. In such a case you may need to visit multiple stores to find what you need.
In the dollar store, look for glassware and remember that you are able to paint it.
Step 3: Figure out the Layers
Bring home the pieces and arrange them, trying to figure out the order in which you will want to glue them. You may choose to work from the front to the back or vice versa. Attaching the shot glass will be a final step.
Step 4 (optional): Paint Glass
Decide if you’re going to paint the glass, which must be finished before any gluing can take place. If so, I used DecoArt Gloss Enamels, which can be used on wood, glass, and ceramics. Be aware painting add time to the process. You will paint the piece in stages, letting each color dry in turn, and then letting the overall piece dry for four days before you bake it to set the colors. Is it worth it? Here’s another of the pieces I painted today.
This plate will serve as the back layer of a flower. I suggest not worrying too much about being meticulous with the paint. You want an organic feel for the flower (in my opinion). I'll let this piece dry and then bake it to set the colors before I start adding anything to it. Because pieces will overlap the center, there's no point in getting too elaborate with it.
Once you have painted the glass, let it dry and bake it.
Step 5: Glue the Layers
Once the step involving glass paint has been performed or skipped, you can begin gluing. I suggest putting down the back piece, gluing the next layer atop it, etc. You can assemble all the front layers and glue them. Set to dry on a level, ventilated surface that is reasonably warm. Let them dry at least 24 hours.
Step 6: Decorate the Layers
At this stage you may glue other things in as decoration. Among what I’ve used so far: Christmas ornaments, gold foil, a cat toy, glass flowers, marbles, large pearl beads, glass pebbles. Let dry at least 24 hours.
Step 7: Add the Back
Now you’re ready to add the back. I use a plastic cereal container to hold the pieces while gluing on the backing, since many of them have delicate front pieces that they cannot rest on. Again let the piece glue for at least 24 hours.
Step 8: Assemble the Stake or Holder
To assemble the holder, if using a shot glass, cut a small piece of terrycloth and duct tape it to the top of the rebar. You can adjust it to make it fit snugly into the glass. Otherwise, you do not need to pad the rebar.
Finito. Now you know enough to make more and probably new ideas have occurred to you already. I’d love to see your creations, please post links if you have them!







One Response
A songbird and a bluejay conducting a contest outside my window. 😀
Ah, such snow. I guess we had ours three-ish weeks ago. Yesterday I laid out sunbathing. Go figure.
Best!